Skip to content
WORK Labs

Work/The archive

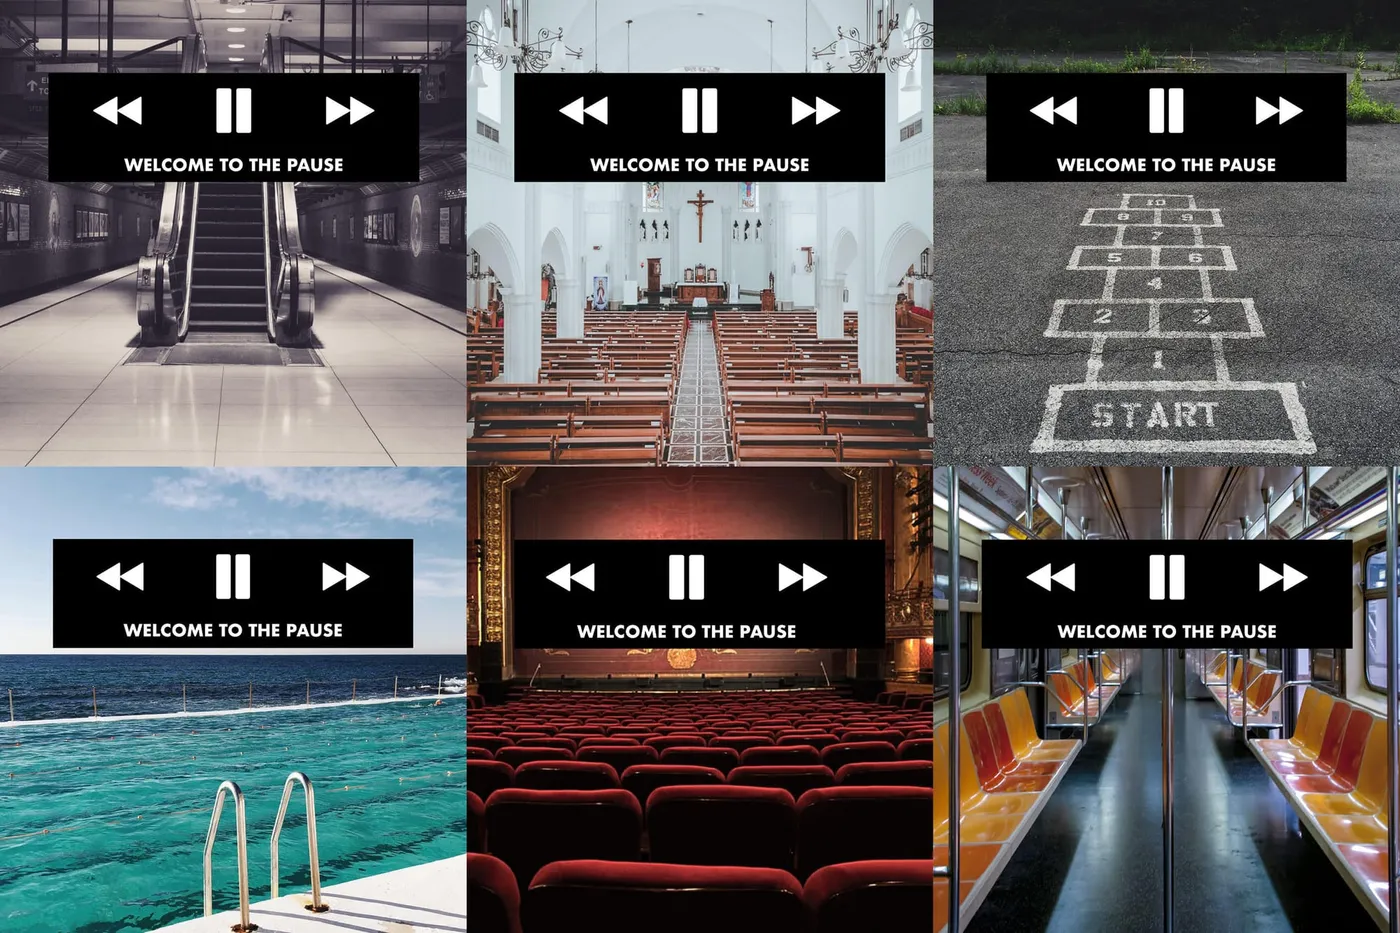
Welcome to the Pause


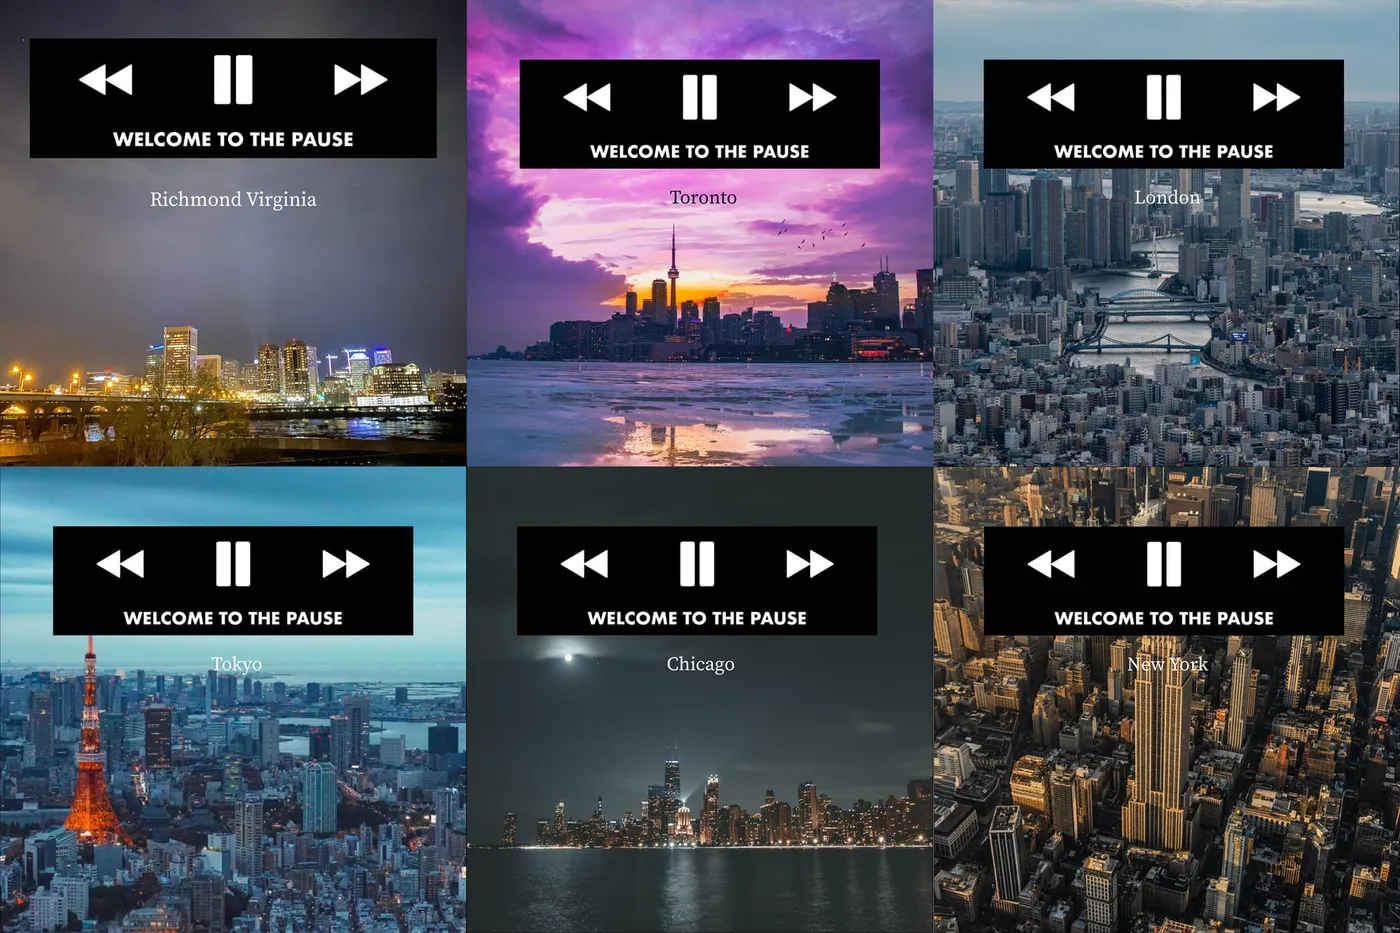
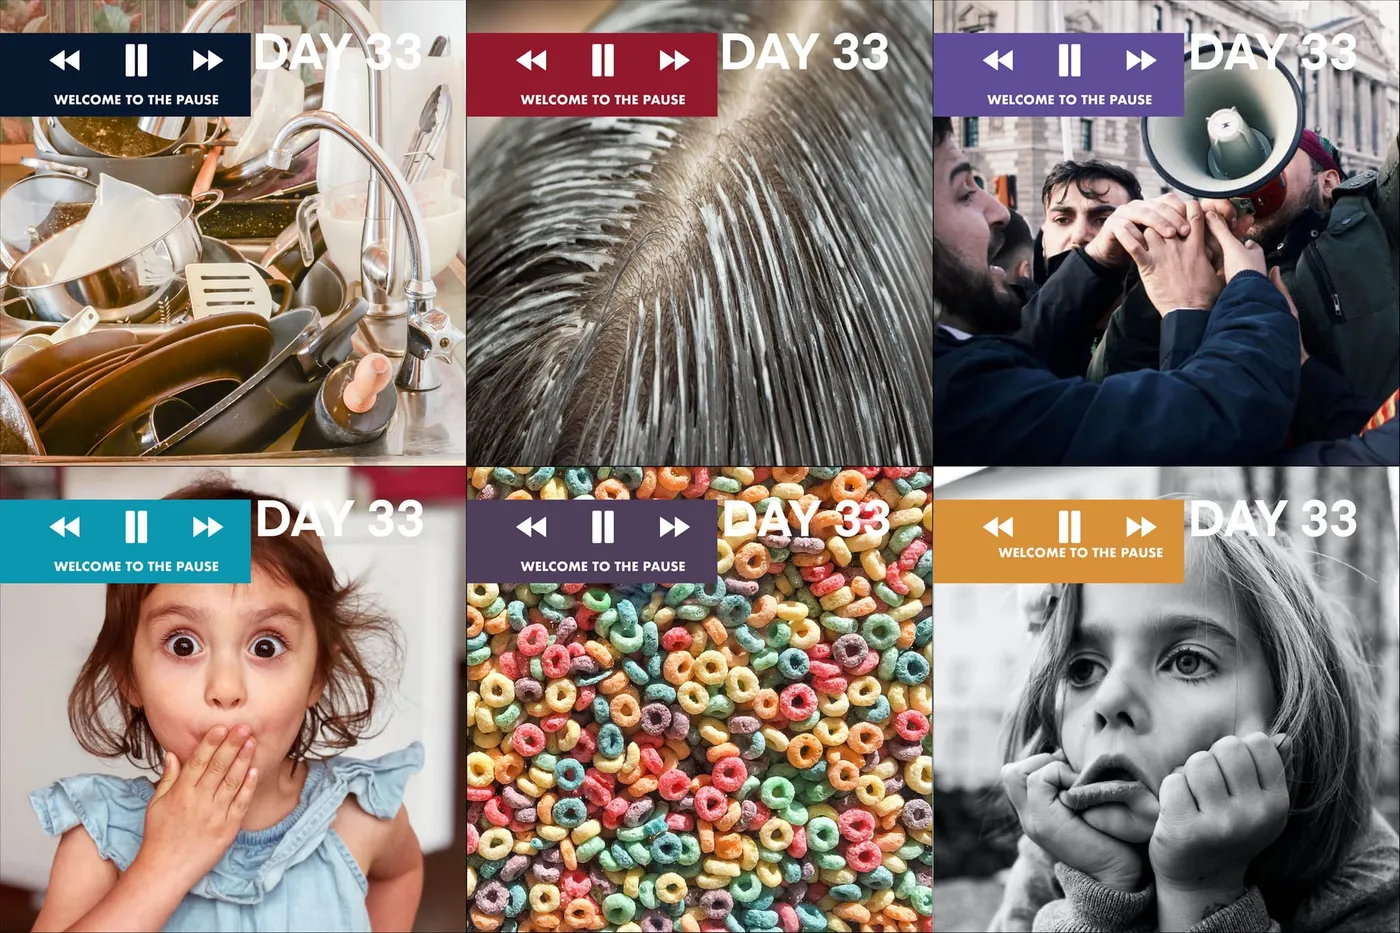
Welcome to the Pause, image 1
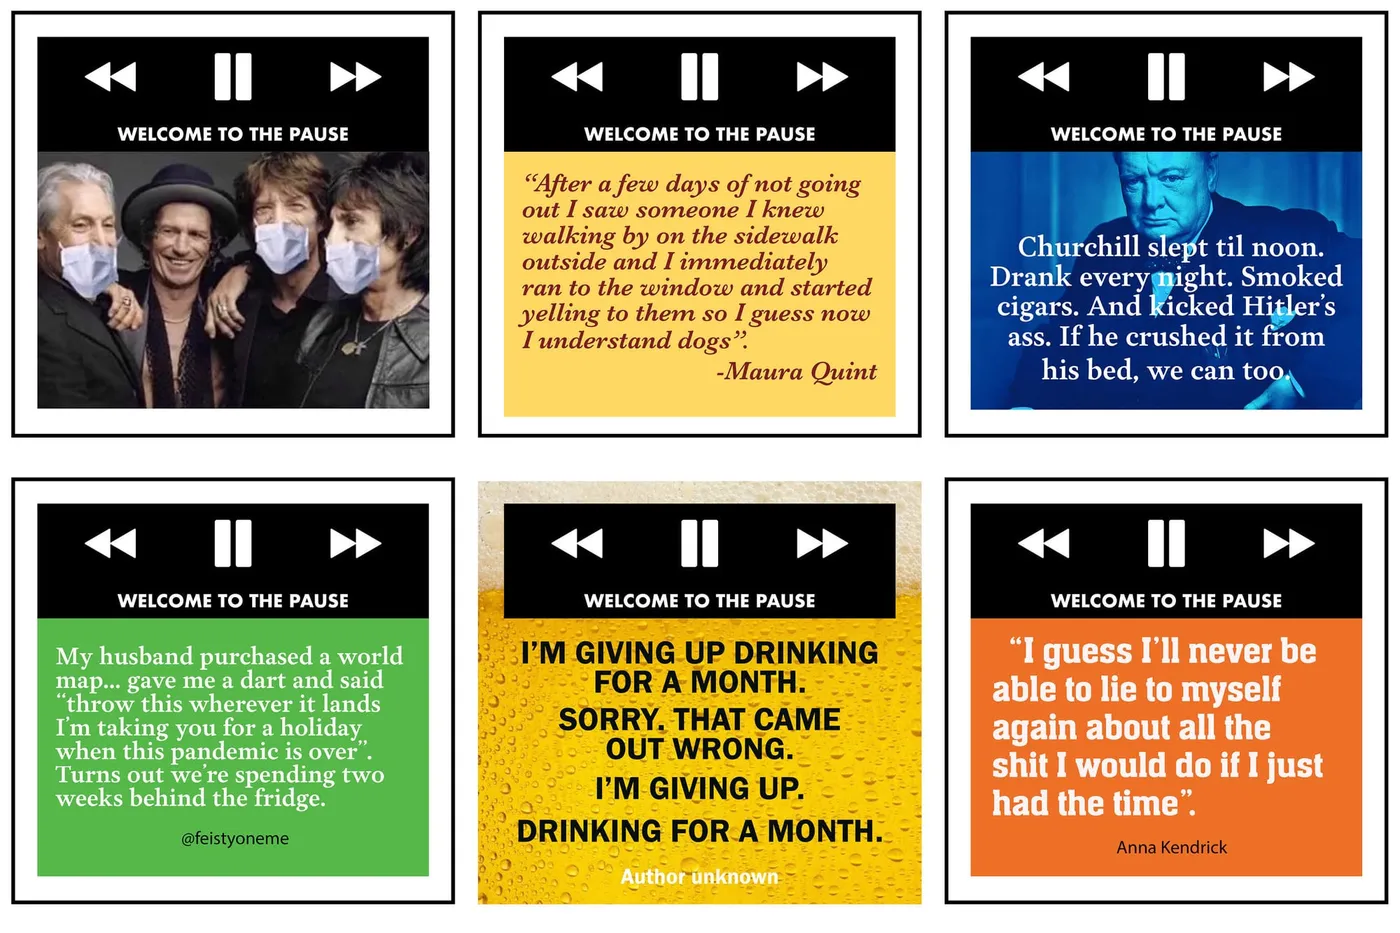
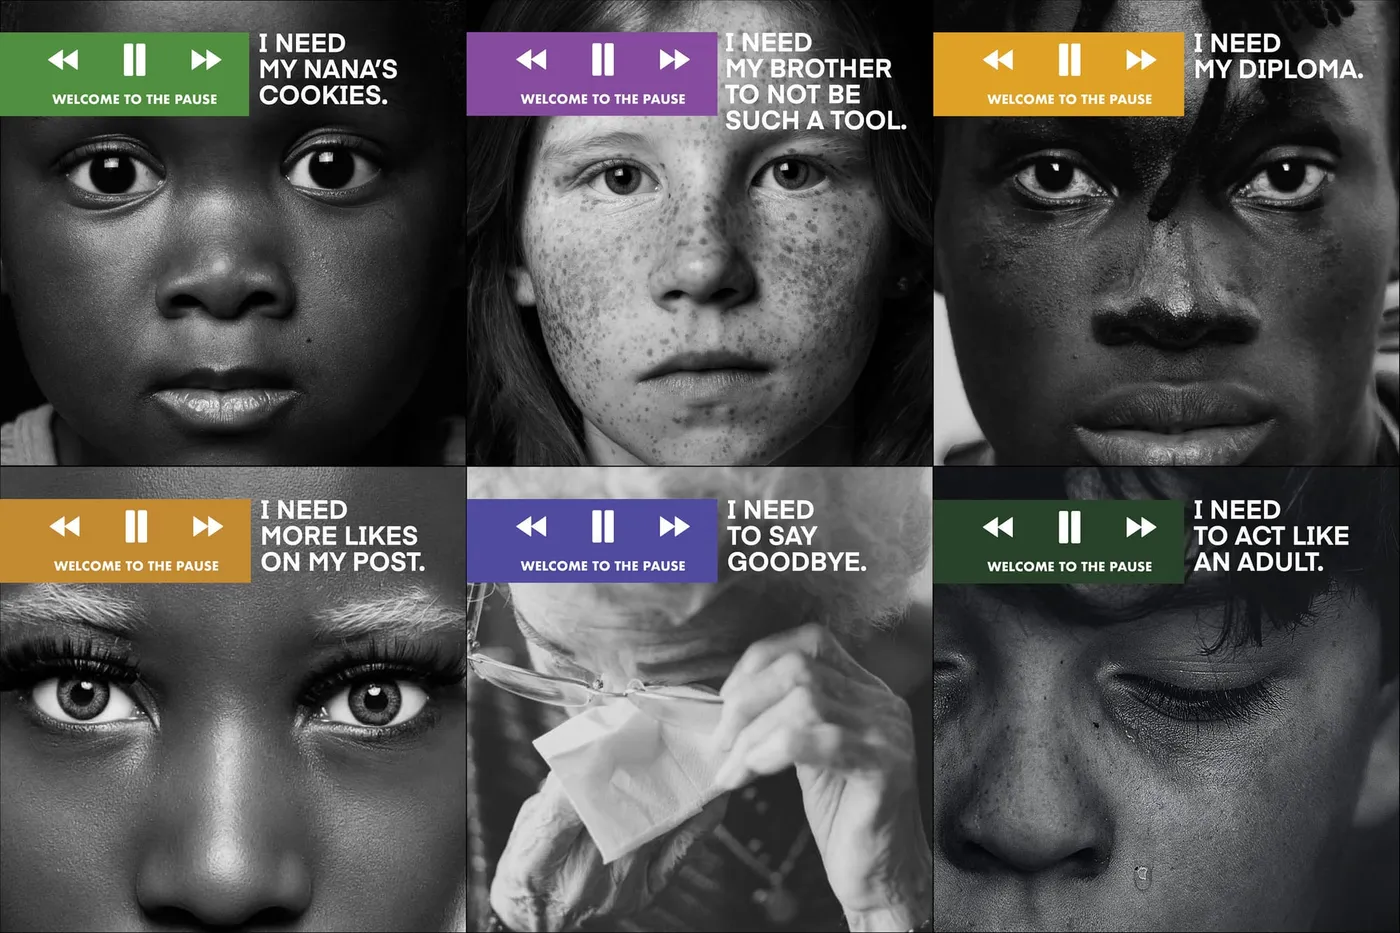
Welcome to the Pause, image 2
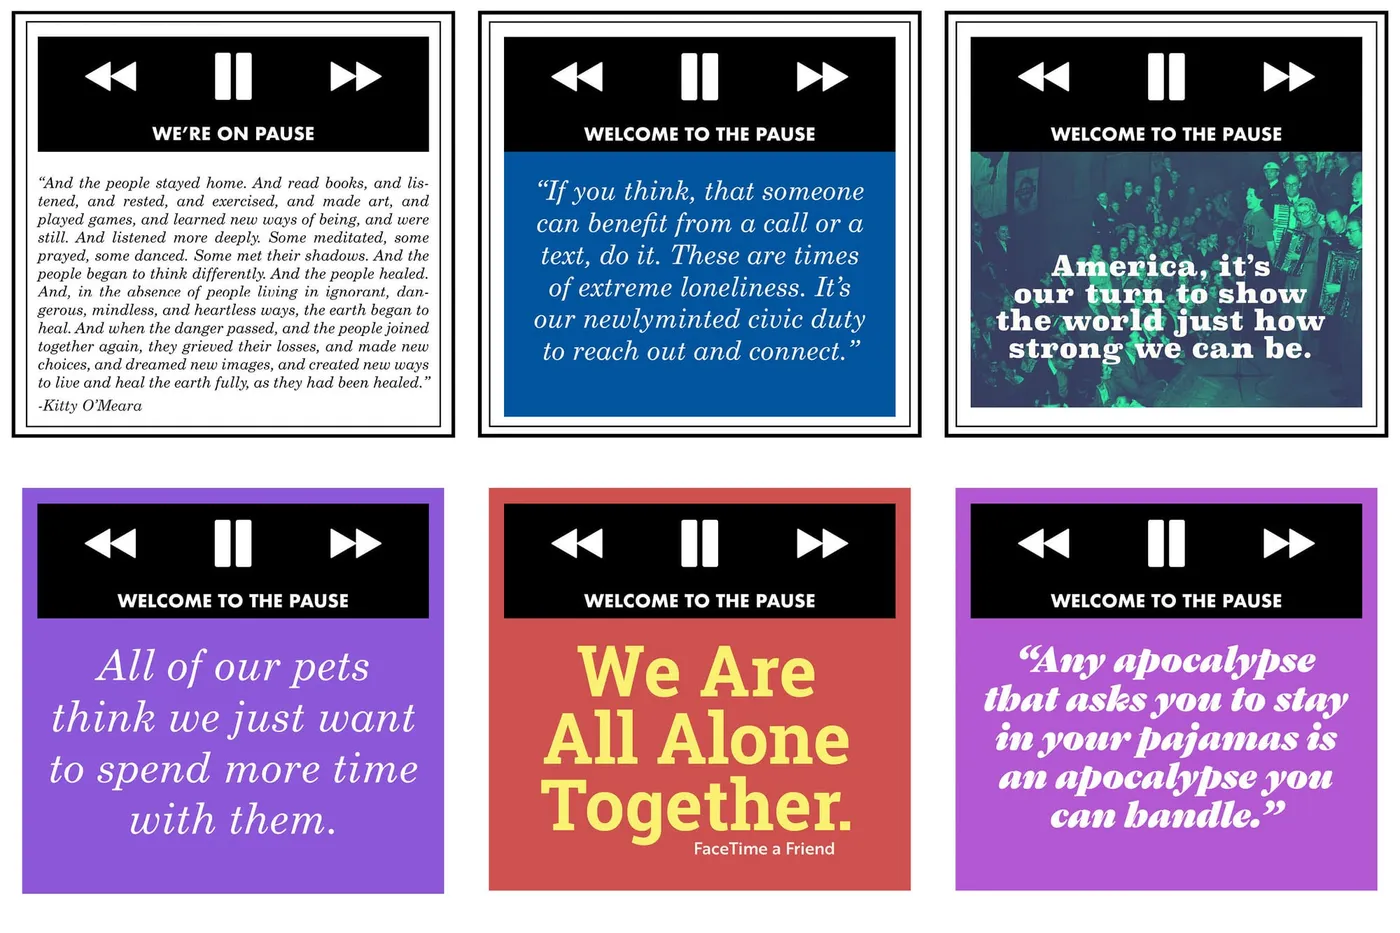
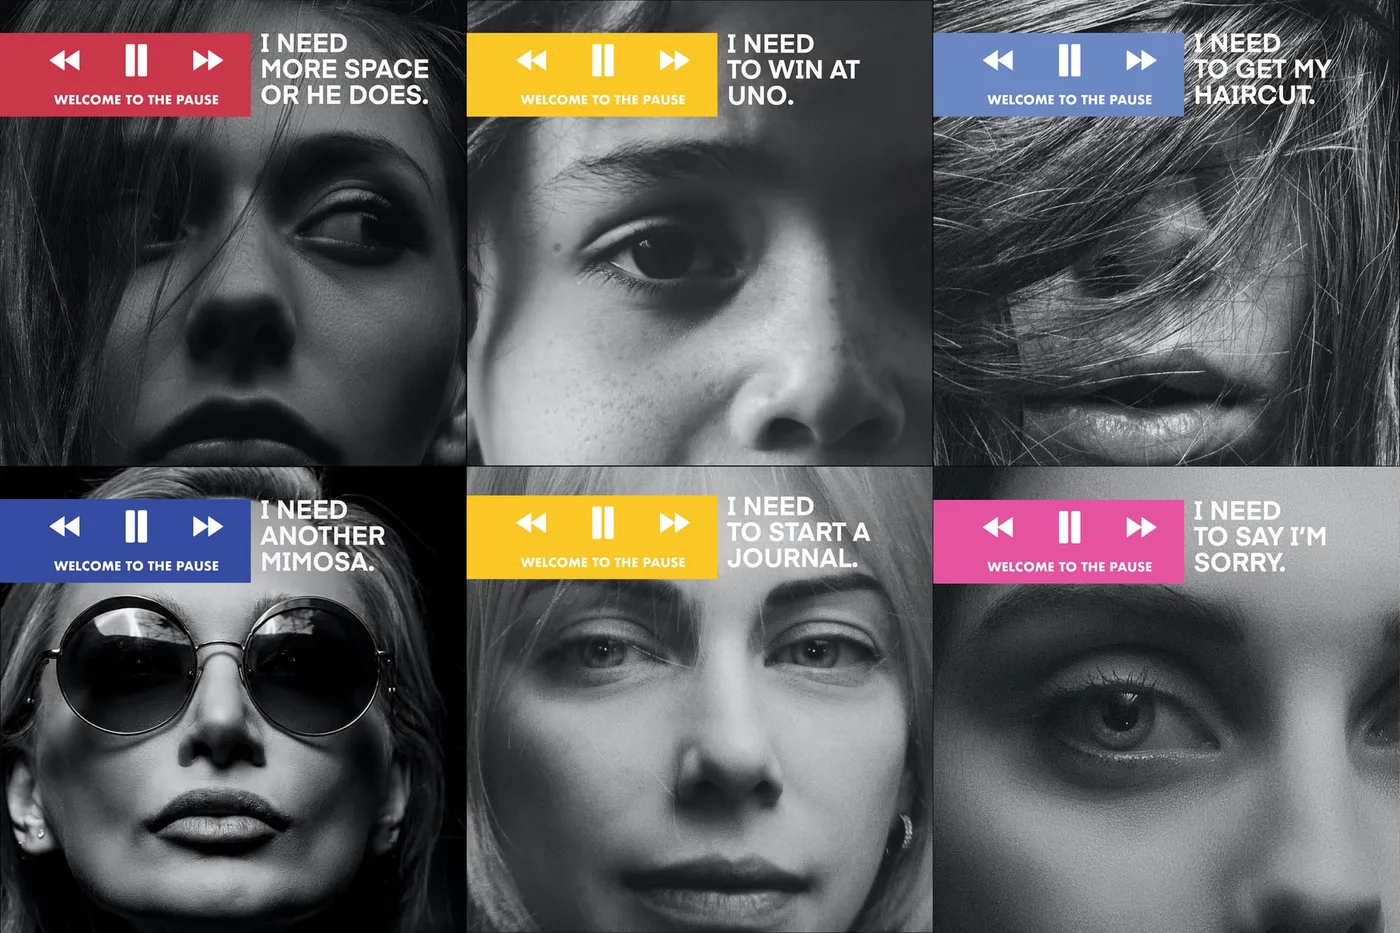
Welcome to the Pause, image 3
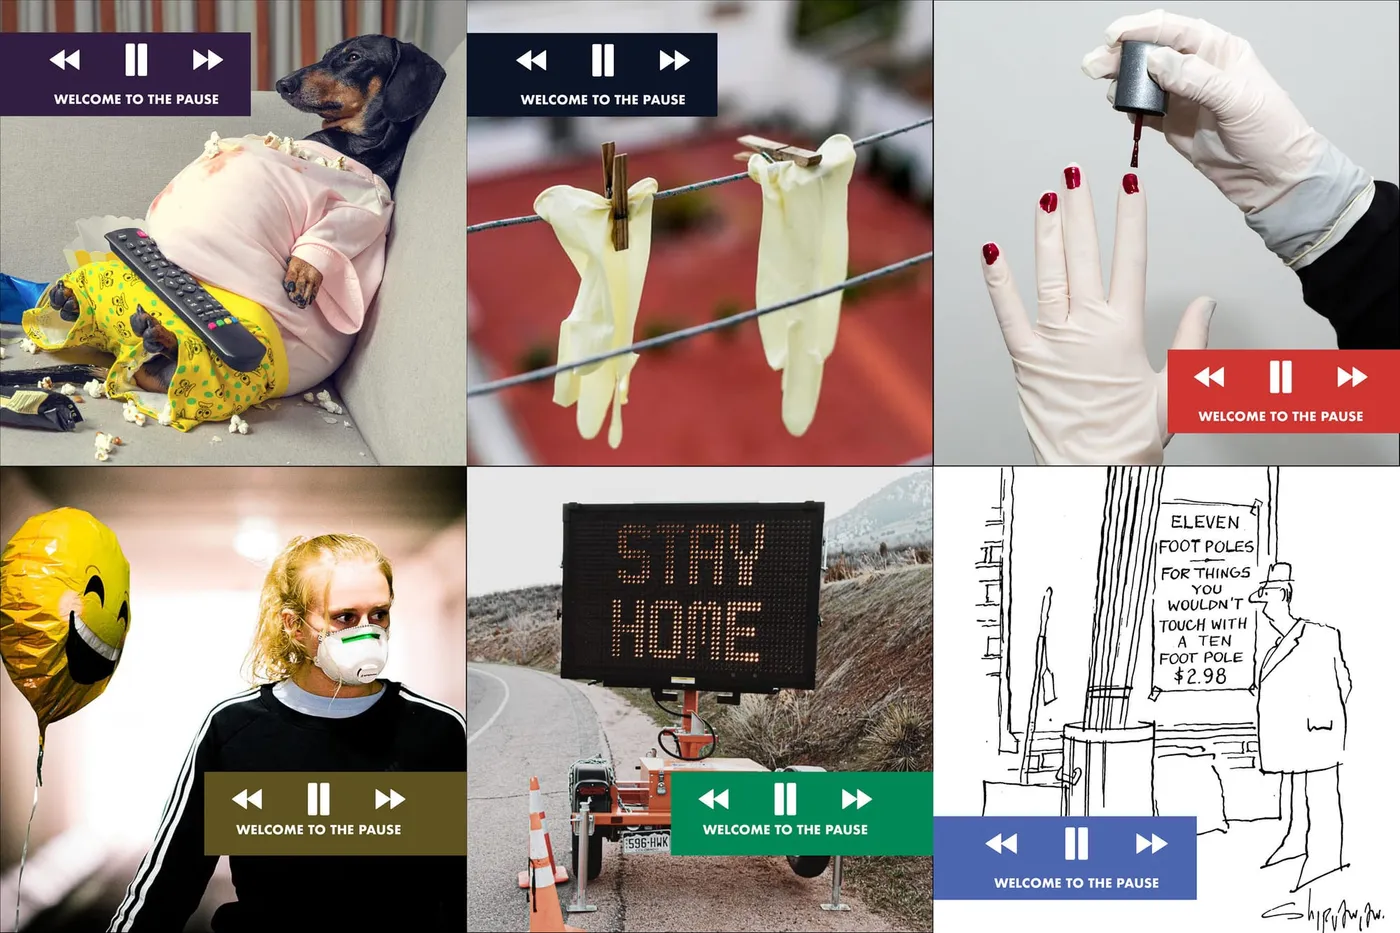
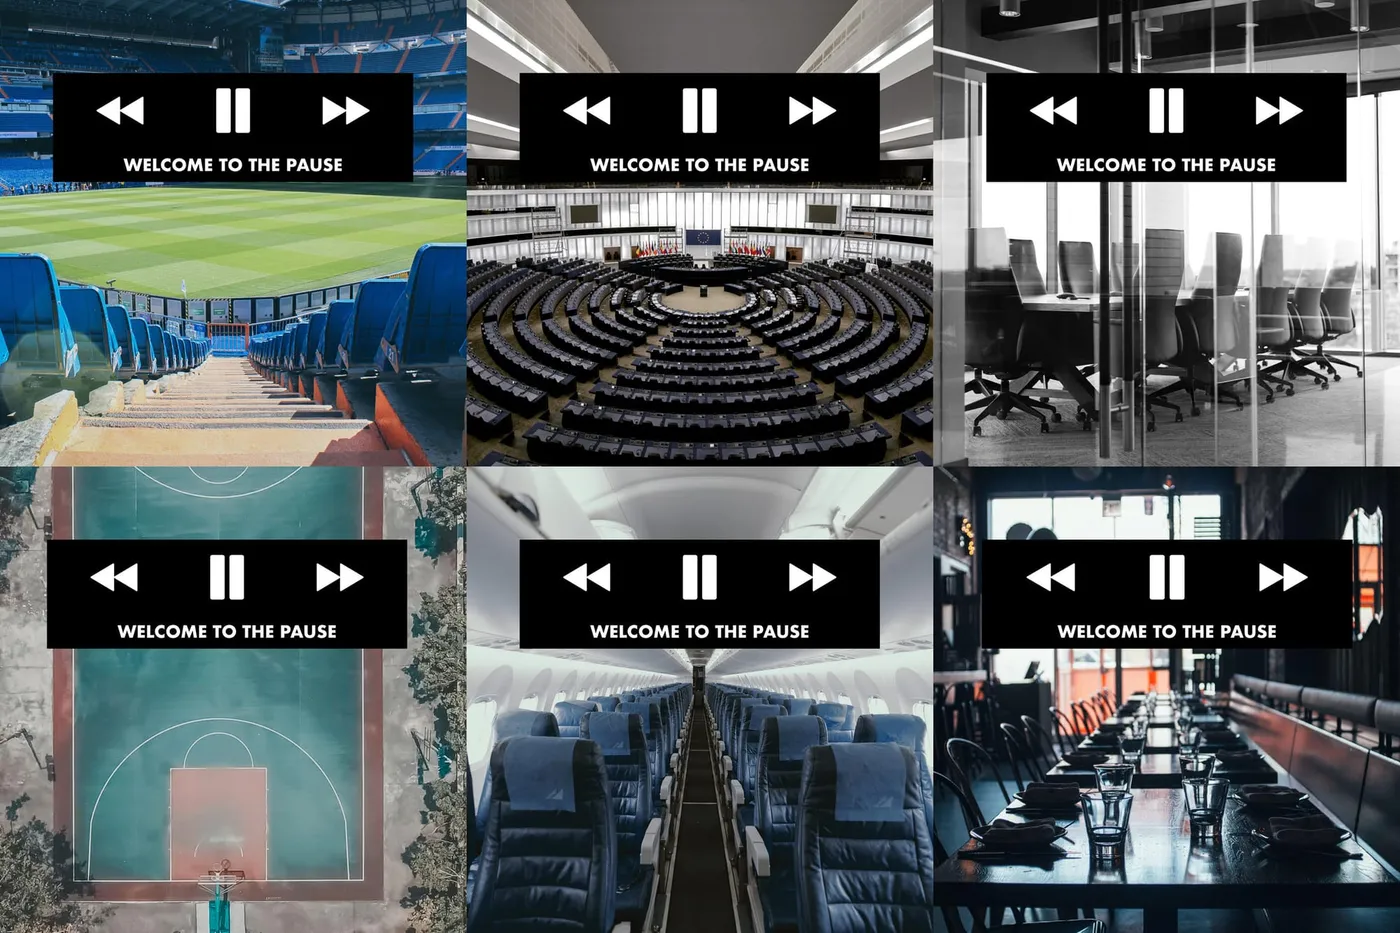
Welcome to the Pause, image 4
Welcome to the Pause, image 5
Welcome to the Pause, image 6
Welcome to the Pause, image 7
Welcome to the Pause, image 8
Welcome to the Pause, image 9